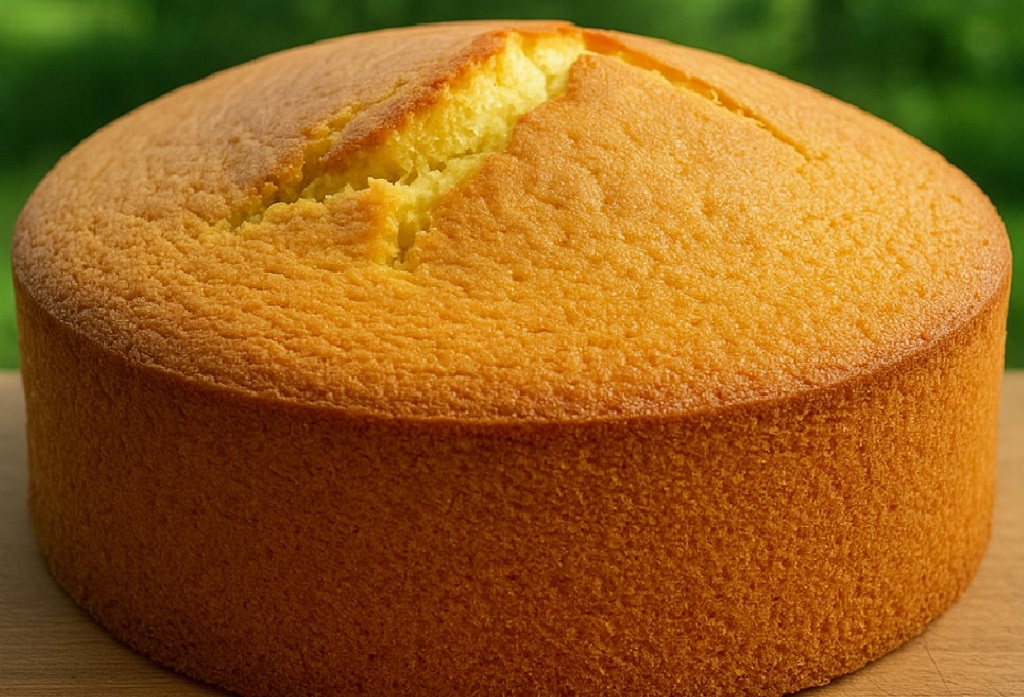
When I want a dessert that’s elegant, crowd pleasing, and unbelievably easy, this simple 3 ingredient sponge cake is my go to. It’s a classic chef’s secret: no butter, no oil, no milk just eggs, sugar, and flour. That’s right. Three pantry staples and you’ve got a cloud soft cake that’s ready to be dressed up or enjoyed as is.
As a chef, I love recipes that do more with less. This sponge cake is pure magic when done right fluffy, light, and perfect for layering or serving with fruit and cream. The real key? Properly whipping the eggs and sugar. Get that right, and the rest is smooth sailing.
“When in doubt, bake a sponge. It’s the little black dress of the baking world versatile, elegant, and always in style.” – @SimpleBakesDaily
Why You’ll Love This 3 Ingredient Sponge Cake
- Minimal ingredients: You probably already have everything you need in your kitchen.
- Incredibly light and airy: Whipped eggs and sugar give it that soft, melt in your mouth texture.
- Customizable: Serve plain, layer with cream, frost it, or top with fruit.
- No oil or butter: Naturally low in fat while still satisfying.
- Beginner friendly: Great for new bakers looking to master basic cake technique.
Want more simple bakes with minimal ingredients? Try our 3 ingredient egg yogurt bread or the microwave banana condensed milk cake both equally delicious and fuss free.
Sponge Cake Ingredients:
- 5 large eggs
- 1 cup (200g) sugar
- 1 cup (125g) all purpose flour
Directions:
1: Preheat and Prep
- Preheat oven to 350°F (180°C).
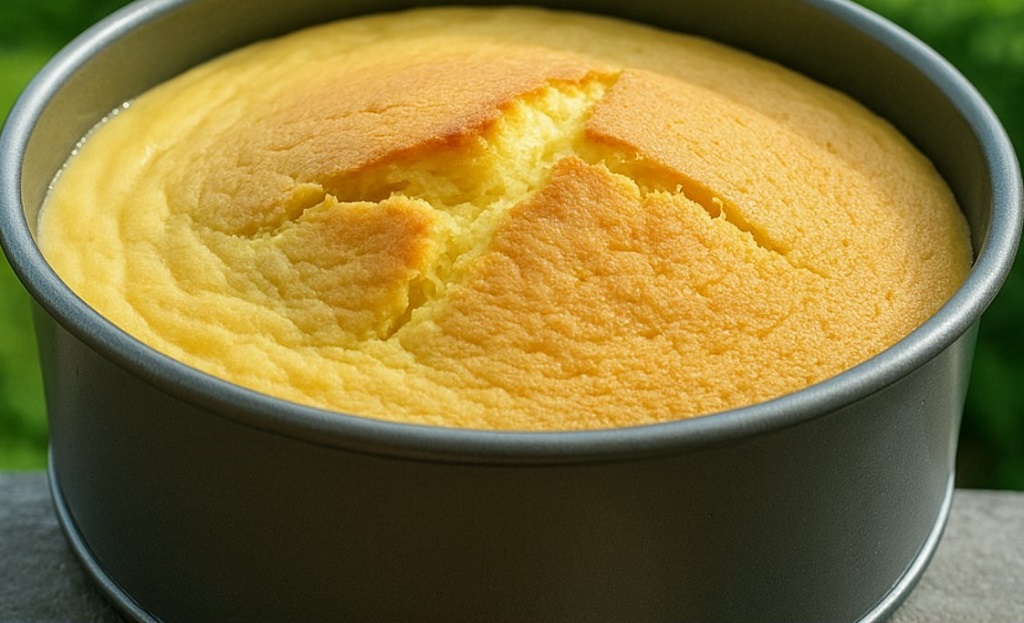
- Grease or line a 9 inch round cake pan with parchment paper for easy removal.
2: Beat Eggs and Sugar
- In a large mixing bowl, combine the eggs and sugar.
- Use an electric mixer or hand whisk to beat the mixture for 8-10 minutes, until thick, pale, and ribbon like in consistency.
3: Fold in the Flour
- Sift the flour over the egg sugar mixture.
- Gently fold in the flour with a spatula until just combined do not overmix to keep the batter airy.
4: Bake
- Pour the batter into your prepared pan and smooth the top.
- Bake for 45-50 minutes until golden and a toothpick inserted in the center comes out clean.
5: Cool and Serve
- Let the cake cool in the pan for 10 minutes, then transfer to a wire rack.
- Allow to cool completely before slicing or decorating.
“With just three ingredients, you’re not just making cake you’re mastering technique.” – @WhipItGoodBaker
Tips for the Best Sponge Cake
- Use room temperature eggs: They whip better and trap more air for maximum volume.
- Beat eggs and sugar long enough: You’re creating the structure here don’t rush this step.
- Sift your flour: To avoid clumps and ensure it folds in easily.
- Fold gently: Preserve the air bubbles you worked so hard to beat into the eggs!
Love mastering basic techniques? Be sure to try our Japanese Castella cake another sponge style cake with a soft, velvety finish.
Flavor Variations and Add Ins
Upgrade Your Sponge Cake with a Twist
- Lemon zest: Add a fresh, citrusy aroma to your batter.
- Vanilla extract: Classic and comforting just 1 tsp in the egg sugar mix.
- Almond extract: A touch adds nutty depth and enhances other flavors.
- Layer with jam and cream: For a traditional Victoria sponge look and feel.
- Soak with coffee or fruit syrup: For a moist, elegant dessert presentation.
Feeling adventurous? Top with a quick orange glaze or layer with cream and strawberries like our strawberry crunch cheesecake for a modern twist.
How to Serve and Store
Smart Storage and Creative Serving Ideas
- Serve plain: Dust with powdered sugar for a light, elegant dessert.
- With whipped cream: Add a dollop of cream and sliced fruit for a refreshing finish.
- Layered cake: Slice into layers and fill with cream cheese frosting or jam.
- Refrigeration: Store in an airtight container for up to 3 days.
- Freezing: Wrap tightly and freeze up to 1 month defrost at room temperature.
“Serve it your way dressed up or stripped back, sponge cake always delivers.” – @CakeCanvasCreator
How to Elevate a Simple Sponge Cake into a Showstopper
Serving Ideas That Impress
While this 3 ingredient sponge cake is beautiful on its own, it’s also the perfect base to transform into elegant desserts for any occasion. I often use this single sponge as a starting point for layered cakes, trifle bowls, or even quick individual desserts in glasses. Here’s how you can dress it up and turn it into something worthy of any celebration.
- Classic Strawberry Shortcake Style: Slice the sponge into two or three horizontal layers. Spread whipped cream and sliced strawberries between each layer and on top. Add a mint leaf for garnish.
- Tiramisu Twist: Soak thin slices of sponge cake with coffee and layer with mascarpone cream. Dust with cocoa powder and chill.
- Mini Layered Jars: Cut small rounds using a cookie cutter. Layer them with custard, fruit, and whipped cream in jars for stunning individual treats.
- Chocolate Drizzle: Melt dark chocolate and pour over the top. Add chopped nuts or crushed freeze dried raspberries for crunch and contrast.
- Simple fruit glaze: Blend berries with a bit of lemon juice and powdered sugar. Drizzle over the sponge for a naturally sweet topping.
Want more no fail base recipes to build creative desserts? Explore our easy homemade crepes or the soft, silky Japanese cheesecake both are blank slates ready for your imagination.
“You don’t need fancy ingredients to make a showstopper you just need a sponge and a little inspiration.” – @EverydayElegantBakes
Transform It Into a Celebration Cake
With just a bit of layering and frosting, this humble sponge becomes a celebration worthy centerpiece. Whether you’re baking for a birthday, tea party, or holiday gathering, try one of these themes to elevate your bake:
- Fruit Filled Summer Cake: Add mango, kiwi, and whipped cream for a bright, tropical cake perfect for warmer months.
- Winter Spice Layer Cake: Infuse the sponge with cinnamon and clove, then fill with cream cheese frosting and chopped candied pecans.
- Holiday Sponge Roll: Bake in a sheet pan and roll with jam or chocolate ganache. Decorate with powdered sugar for a Yule log effect.
- Minimalist Naked Cake: Stack two or three layers with light cream and fruit. Leave the sides bare for a rustic, modern finish.
Want a soft sponge to build birthday cakes or celebration towers? Pair this recipe with our perfect vanilla cupcakes or zesty lemon cake for layered dessert ideas that everyone will rave about.
“A blank sponge cake is like a fresh canvas ready to paint with berries, cream, or frosting.” – @TheLayerLover
How to Store and Freeze Sponge Cake the Right Way
Keep It Fresh and Ready to Go
The simplicity of this sponge cake means you can easily bake ahead and store it without sacrificing quality. I often make a couple at once, freeze one, and decorate the other. Here’s how to store your sponge the smart way:
- Room temperature (unfrosted): Wrap in plastic wrap and store in an airtight container for up to 3 days.
- Refrigerated (frosted): Keep in a cake carrier or covered container for up to 4 days. Let it sit at room temperature for 30 minutes before serving.
- Freezer: Wrap unfrosted sponge layers in plastic wrap, then foil. Freeze for up to 2 months. Thaw at room temperature, unwrapped, to avoid condensation ruining the texture.
Need more freezer friendly bakes? Our pineapple quick bread and 10 minute skillet bread both store beautifully and are great for prep ahead baking.
“Bake once, enjoy twice or even three times. Sponge cake is a freezer hero.” – @BakeStoreRepeat
How to Revive a Day Old Sponge
If your sponge has dried slightly after a day or two, don’t worry. There are quick fixes that bring it back to life and sometimes even improve the flavor:
- Syrup soak: Mix equal parts sugar and water, add vanilla or citrus zest, and lightly brush the sponge layers before assembling a cake.
- Steam it: Wrap slices in foil and steam for a few minutes. It softens the crumb and makes it taste freshly baked.
- Toast it: For a completely different texture, slice and toast lightly. Serve with jam or clotted cream for a rustic treat.
Enjoy experimenting with textures? You’ll love turning leftover slices into something new like our milk custard rice cake a clever use of simple base ingredients.
“Sometimes leftovers lead to your next great dessert idea. Sponge cake never goes to waste.” – @SmartBakerLife
Nutrition Facts (Per Serving – Based on 8 slices)
- Calories: 280
- Carbohydrates: 40g
- Protein: 6g
- Fat: 8g
- Sugar: 24g
Frequently Asked Questions
Why does my sponge cake collapse?
Most often, it’s due to underbaking, overmixing after adding flour, or opening the oven door too early. Ensure it’s fully baked before removing and handle gently.
Can I use self raising flour?
It’s best to use all purpose flour here. Self raising flour contains leaveners, which this recipe doesn’t need thanks to the air beaten into the eggs.
What can I use instead of sugar?
You can experiment with natural sweeteners like coconut sugar, though the texture and volume may vary. Stick with granulated sugar for best results.
Can I use a hand whisk?
Yes, but it will take longer up to 12-15 minutes of vigorous whisking. A stand mixer or electric hand mixer is recommended for consistency.
Is this cake gluten free?
Not as written, but you can substitute a 1:1 gluten free flour blend. Results may be slightly denser but still delicious!
“Every home baker should have a go to sponge cake it’s your canvas for creativity.” – @BasicToBrilliantBakes